EN

+86 139 2073 4749



 EN
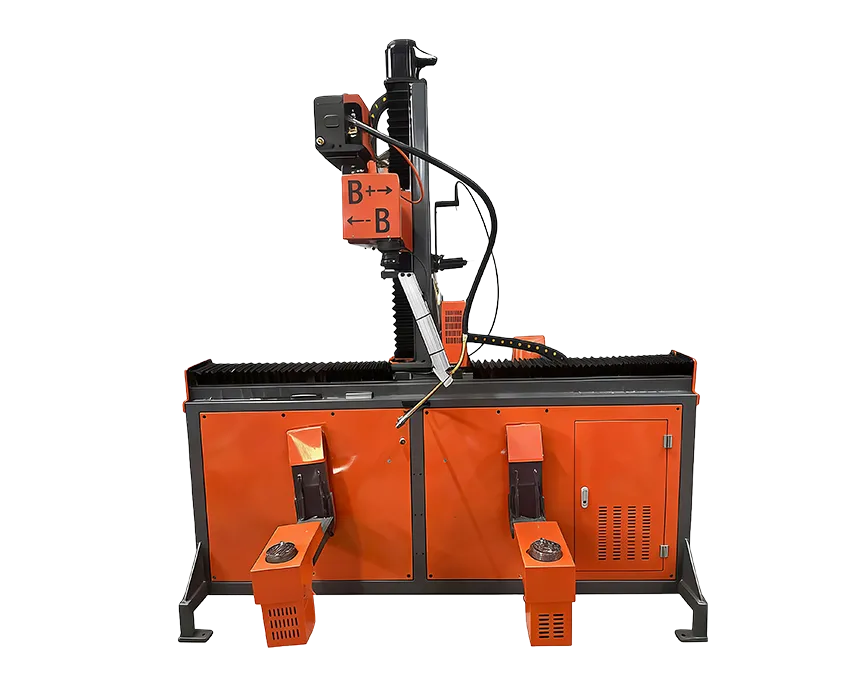
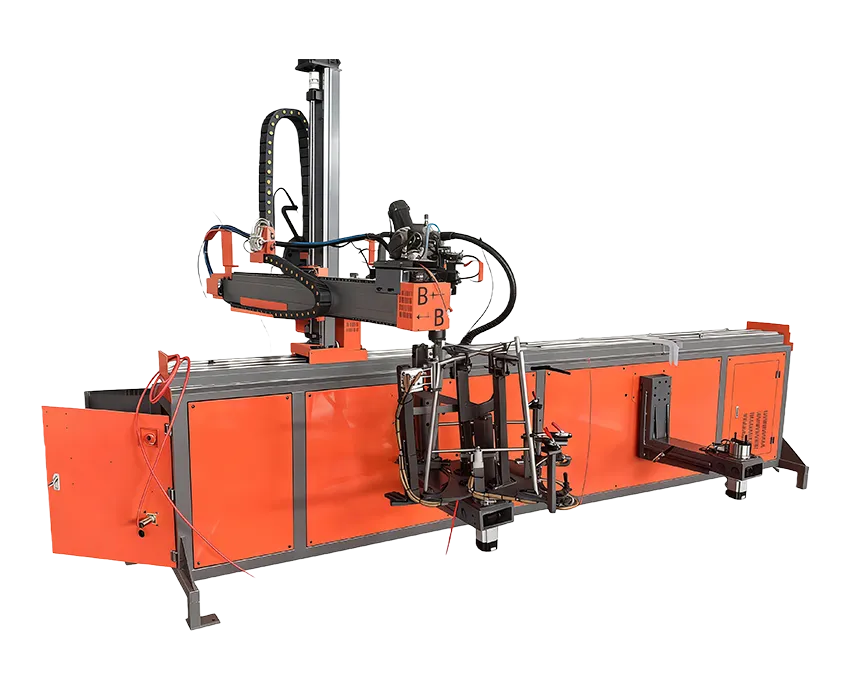
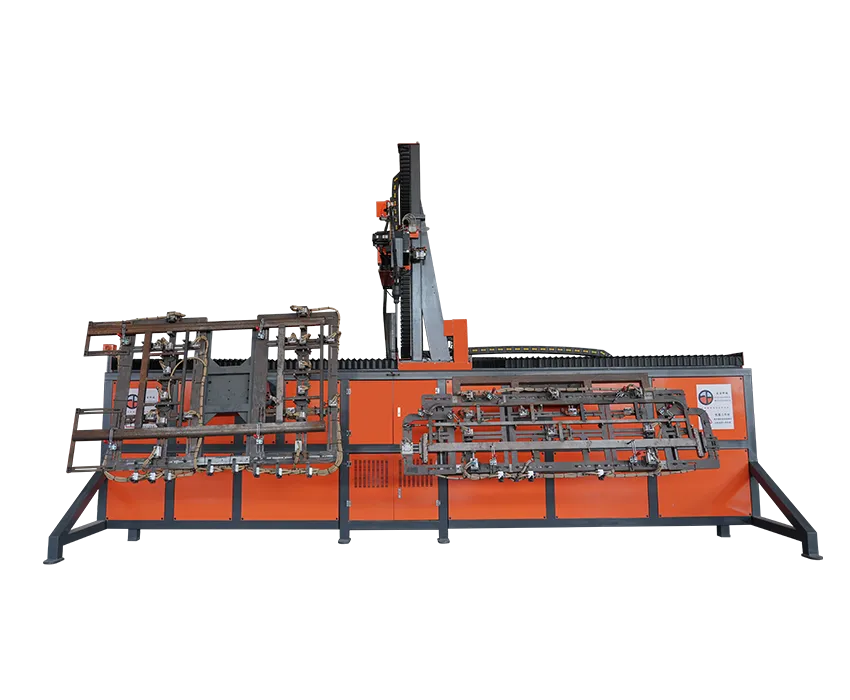
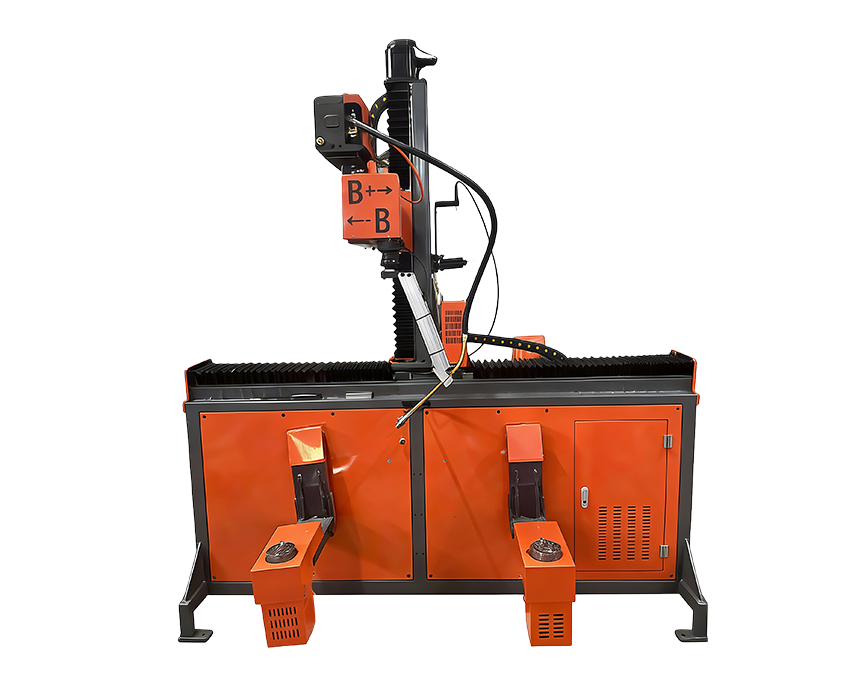
An 8-axis welding robot combines multi-axis motion, welding equipment, control systems, and workpiece positioning. When a welding problem occurs, the cause may not be the robot arm itself. Incorrect welding parameters, wire feeding problems, fixture positioning, sensor errors, or program settings can also affect the final weld.
A systematic troubleshooting process helps identify the source of the problem without unnecessarily replacing components.
When an 8-axis welding robot stops unexpectedly, check the controller and alarm display first.
Record the alarm code and determine whether it is related to:
Servo or motor errors
Axis overtravel
Positioning errors
Communication faults
Safety circuit activation
Welding power source
Wire feeding system
Sensor or external equipment
Do not reset the system repeatedly without identifying the cause. The alarm history can provide useful information about what happened immediately before the stoppage.
An 8-axis system has multiple coordinated movement axes. If the robot cannot reach a programmed position, moves unexpectedly, or produces positioning errors, check whether any axis is approaching its mechanical or software travel limit.
Inspect:
Axis position
Servo status
Mechanical obstruction
Cable interference
Abnormal noise or vibration
Zero or reference position
Robot-to-fixture clearance
If the problem occurs only at a specific position, check the welding program and workpiece fixture before assuming that the robot hardware has failed.
Poor weld quality does not necessarily indicate a problem with the welding power source.
An incorrect torch position can change the welding angle, arc length, and distance from the joint.
Check:
Torch angle
Contact-tip-to-work distance
Torch alignment
Torch collision or deformation
TCP (Tool Center Point) settings
Welding path
If the robot repeatedly produces the same weld deviation, verify the programmed TCP and calibration.
Wire feeding problems are common causes of unstable arc welding.
If the wire does not feed smoothly, inspect the complete wire feeding path:
Welding wire spool
Wire feeder
Drive rolls
Wire liner
Contact tip
Welding torch
Look for excessive resistance, contamination, worn components, incorrect drive-roll selection, or an improperly installed liner.
Symptoms such as irregular wire feeding, arc instability, or frequent burnback may originate from the feeding system rather than the robot axes.
If the robot moves normally but the weld is poor, verify the welding parameters.
Important settings include:
Welding current
Welding voltage
Wire feed speed
Travel speed
Shielding gas flow
Welding mode
Torch angle
Compare the actual parameters with the qualified welding procedure or the parameters established for the specific material and joint.
Changing several parameters at once can make troubleshooting more difficult. Adjust one variable at a time whenever practical.
Porosity and unstable weld appearance can result from inadequate shielding gas.
Check the gas cylinder or supply system, regulator, hoses, valves, and torch nozzle.
Also inspect the nozzle for excessive spatter accumulation. A partially blocked nozzle can interfere with shielding around the welding arc.
If gas flow appears normal but porosity continues, inspect the welding environment for drafts and check whether the workpiece surface has contamination, moisture, oil, or other substances that may affect weld quality.
An 8-axis welding robot follows its programmed path based on the expected position of the workpiece.
If the fixture shifts or the component is loaded incorrectly, the robot may follow the correct program but still weld the wrong location.
Check:
Fixture clamping
Workpiece orientation
Locating pins
Fixture wear
Part dimensions
Fixture-to-robot alignment
For repetitive production, consistent fixture positioning is particularly important because even a small positioning error can be repeated across a large batch.
If the welding robot works correctly on one product but produces errors on another, inspect the corresponding program.
Check for:
Incorrect program selection
Incorrect welding sequence
Wrong coordinate system
Incorrect TCP
Incorrect workpiece coordinate
Incorrect speed
Missing welding points
Incorrect axis synchronization
For an 8-axis system, also verify that the additional axis or positioning mechanism is correctly synchronized with the robot movement.
If a collision occurs, stop operation and inspect the torch, workpiece, fixture, and robot path before restarting.
Do not simply clear the collision alarm and resume production.
Check whether:
The workpiece was incorrectly positioned
The fixture has moved
A welding component has deformed
The programmed path is incorrect
A previous collision changed torch alignment
An axis has lost its reference position
After a collision, torch calibration and robot positioning should be verified before returning to normal production.
|
Symptom |
Possible Cause |
Recommended Check |
|
Robot does not start |
Safety circuit or controller alarm |
Check alarm and safety status |
|
Axis cannot move |
Servo, limit, or obstruction |
Check axis status and travel range |
|
Weld position is incorrect |
TCP or fixture deviation |
Check calibration and fixture |
|
Unstable arc |
Wire feeding or parameters |
Inspect feeder and welding settings |
|
Excessive spatter |
Incorrect parameters or torch position |
Check voltage, current, speed, and torch angle |
|
Porosity |
Shielding problem or contamination |
Check gas flow and workpiece surface |
|
Wire burnback |
Feeding or parameter issue |
Check wire feed and welding settings |
|
Collision alarm |
Path or fixture interference |
Inspect robot path and workpiece |
|
Different weld results between parts |
Inconsistent positioning |
Check fixture repeatability |
|
Robot stops during welding |
Controller or external equipment alarm |
Check alarm history and communication |
Operators can usually perform basic inspections such as checking alarms, wire feeding, gas supply, fixture positioning, and welding parameters.
However, qualified service personnel should be involved when troubleshooting involves:
Servo drive faults
Controller hardware
Encoder problems
Electrical wiring
Safety circuits
Repeated collision errors
Axis calibration
Internal welding power-source faults
Attempting to repair electrical or servo components without appropriate training can create additional equipment and safety risks.
Troubleshooting should not stop after the robot returns to operation. If the same fault occurs repeatedly, identify the underlying cause.
A preventive maintenance program should include regular inspection of the robot axes, torch, wire feeder, cables, fixtures, sensors, and welding equipment.
Operators should also record recurring alarms, maintenance activities, component replacements, and welding defects. This creates a useful maintenance history and makes future troubleshooting faster.
Troubleshooting an 8-axis welding robot requires checking the complete welding system rather than focusing only on the robot arm. Start with the alarm information, then inspect axis movement, torch positioning, wire feeding, welding parameters, shielding gas, fixtures, and program settings.
For repeated problems, calibration, maintenance records, and professional technical support can help determine whether the issue originates from the robot, welding equipment, fixture, or production process.
Juyoubao provides multi-axis robotic welding solutions and can configure welding systems according to workpiece geometry, welding requirements, production volume, and automation needs.